Nextmv is a DecisionOps platform built for developers. It is a set of tools for building, testing, deploying, and operating decision models. The Nextmv Platform is built around various components:
- CLI: a command line interface for workflow management.
- Cloud: a cloud service for hosting and running decision models, including experiments and tests.
- Console: a web-based console for managing your apps, viewing results and collaborating.
- Go SDK: Go libraries and plugins for modeling and optimization.
- Python SDK: Python libraries for modeling and optimization.
- Community apps: pre-built decision apps for common use cases.
These components are fully integrated to make it quick and seamless to deploy decision apps to production-ready infrastructure and manage different developer operation workflows.
The Platform is built around the concept of applications (apps). An app represents a published decision model, essentially a decision service. There are two types of apps:
- Subscription apps: pre-built decision apps that solve specific problems in domains like routing or shift scheduling. These apps are present in the Nextmv Marketplace and you subcribe to them. Nextmv publishes the executable code for these apps. Based on community apps.
- Custom apps: fully customizable applications for which you control the source code. Start from a community app or from scratch. Supported languages include Go and Python.
Apps are used to:
- Run. You can submit input to the app which then runs it through your decision model and returns an ouput.
- Experiment & test. A framework for testing different model versions, input data, configurations, and scenarios and verifying changes. De-risk deploying to production.
The following sections will walk you through a brief introduction to the Nextmv Platform. You will:
- sign up for an account at https://cloud.nextmv.io,
- create a new routing app from the Marketplace, and
- make a remote run.
1. Sign up for an account
First, sign up for a free Nextmv account (see the limits of a free plan on the Nextmv Pricing page).
2. Create a routing app
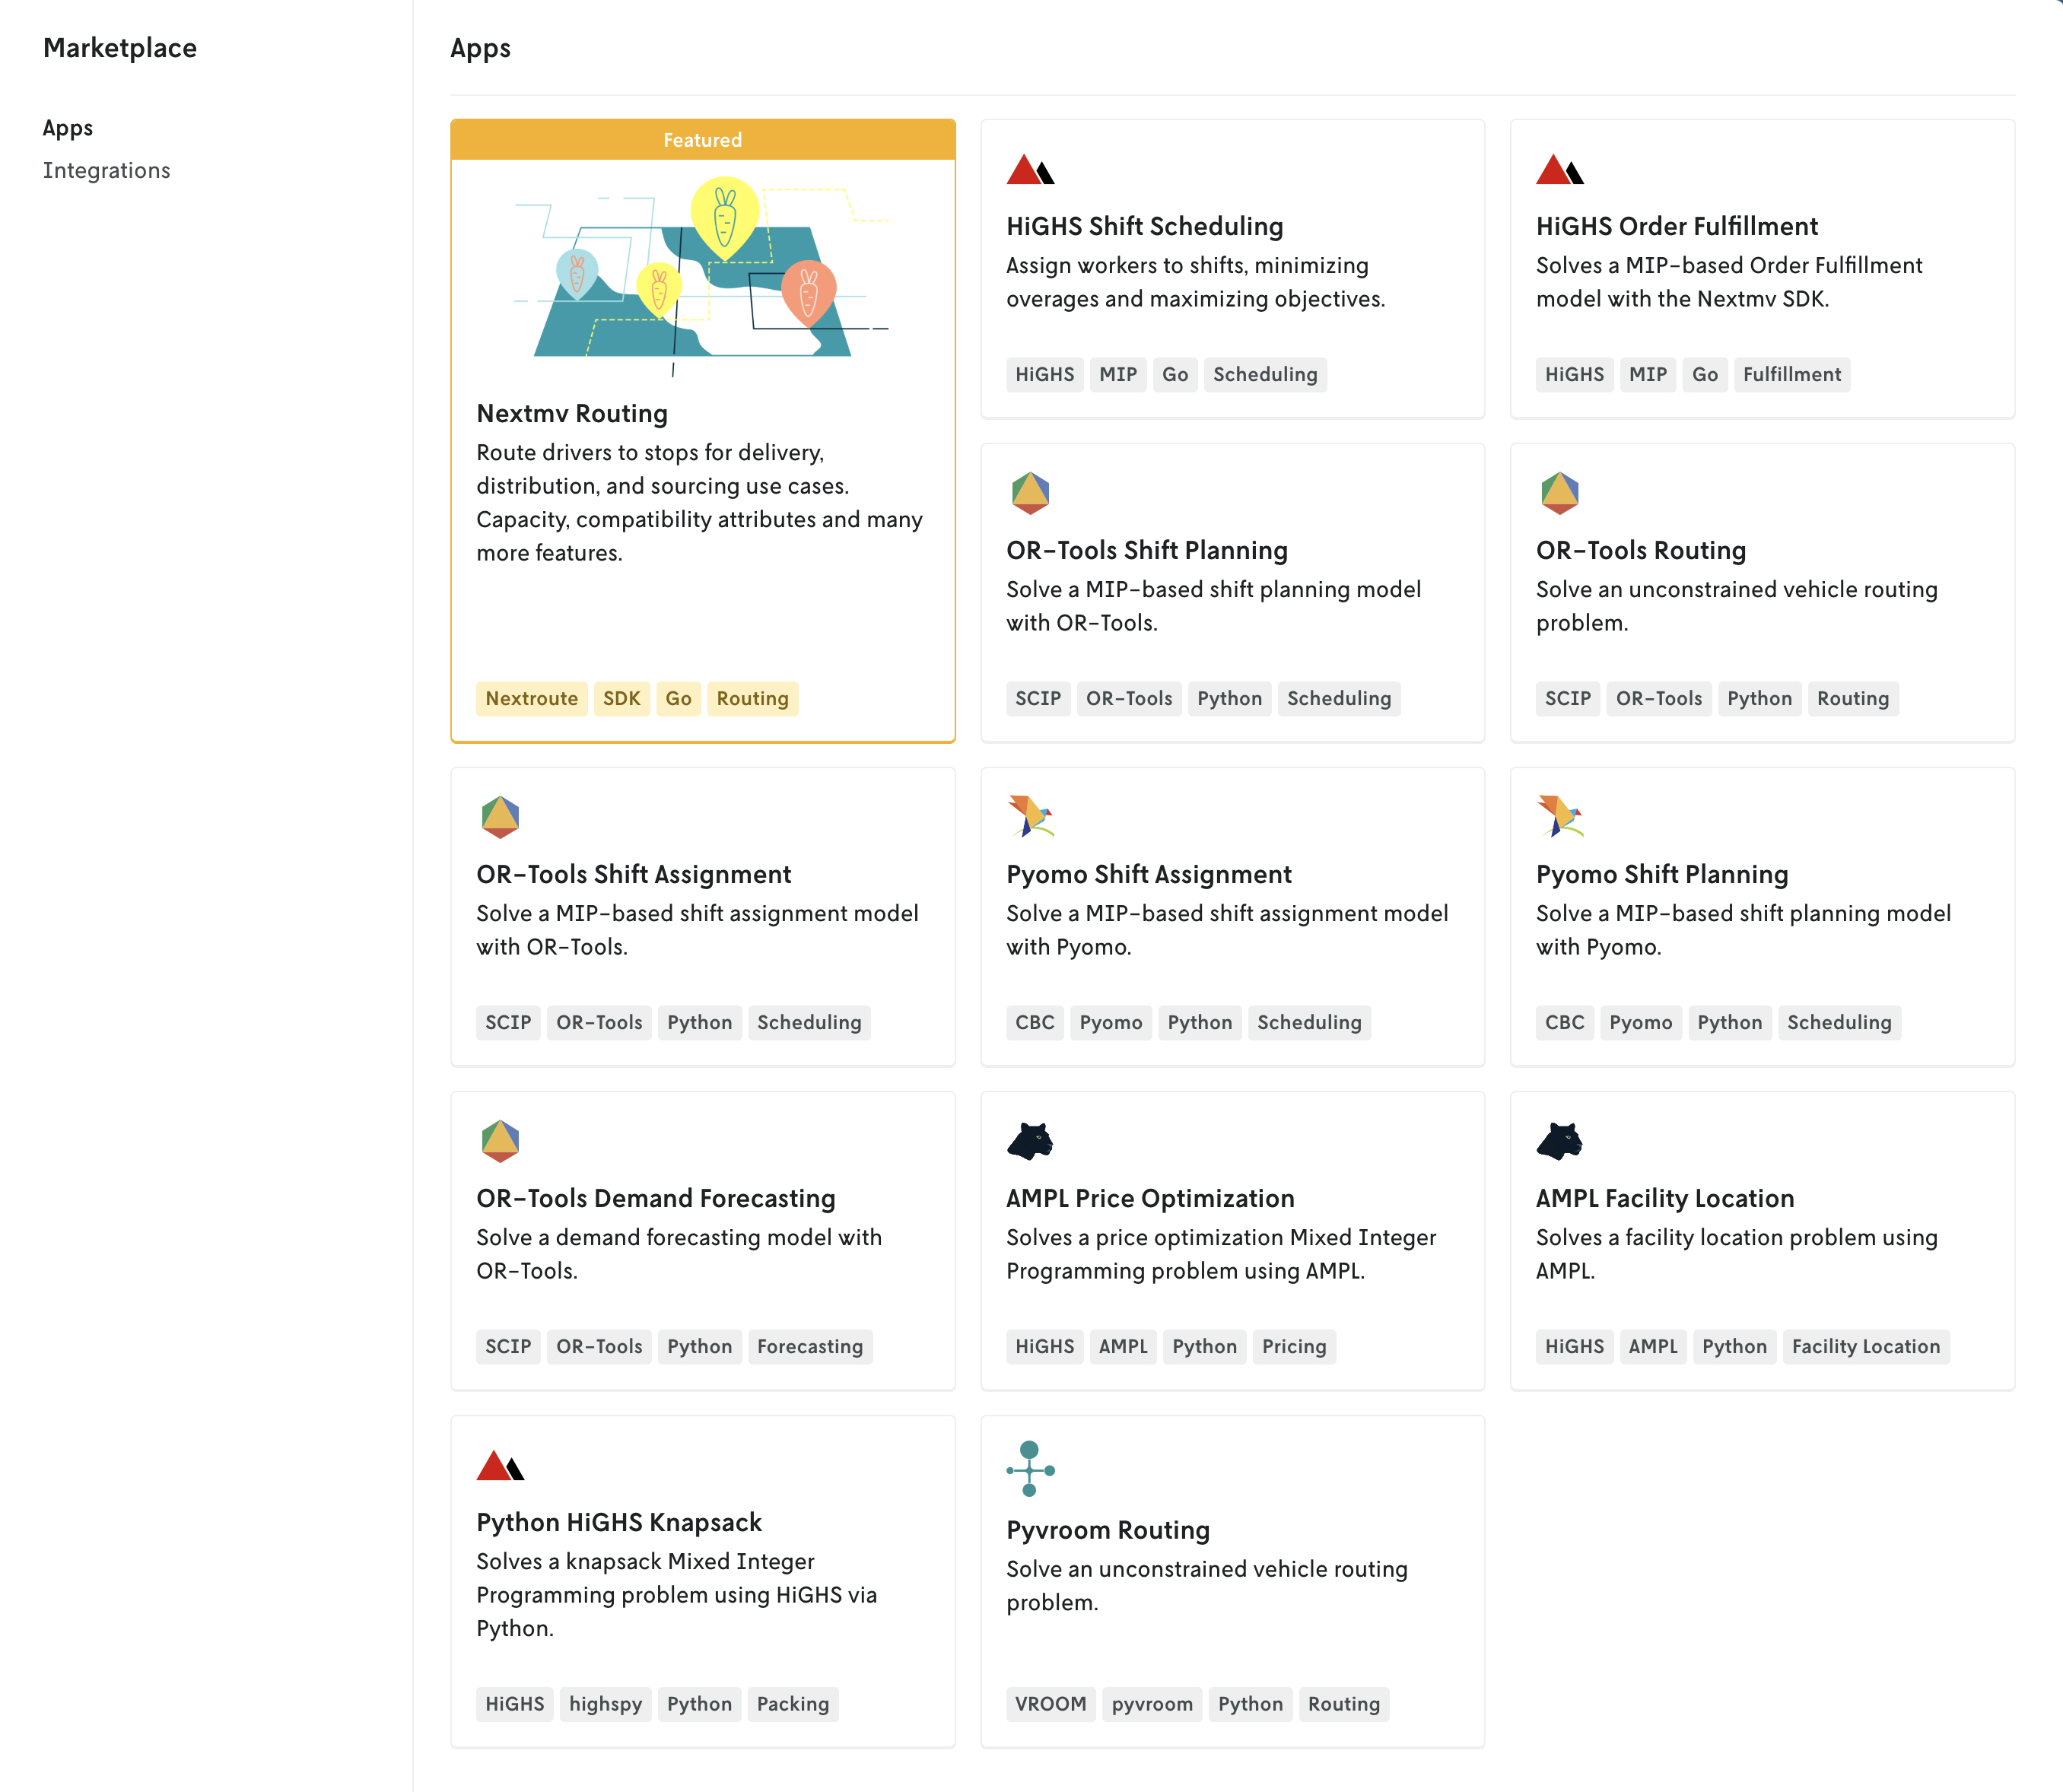
After completing the sign up process, log in and you should land on the main Nextmv Marketplace page. The Nextmv Marketplace has various decision apps you can clone for your own use. Click on the featured Nextmv Routing app to go to the app’s details view.
The Nextmv Routing app is packed with features to solve vehicle routing problems.
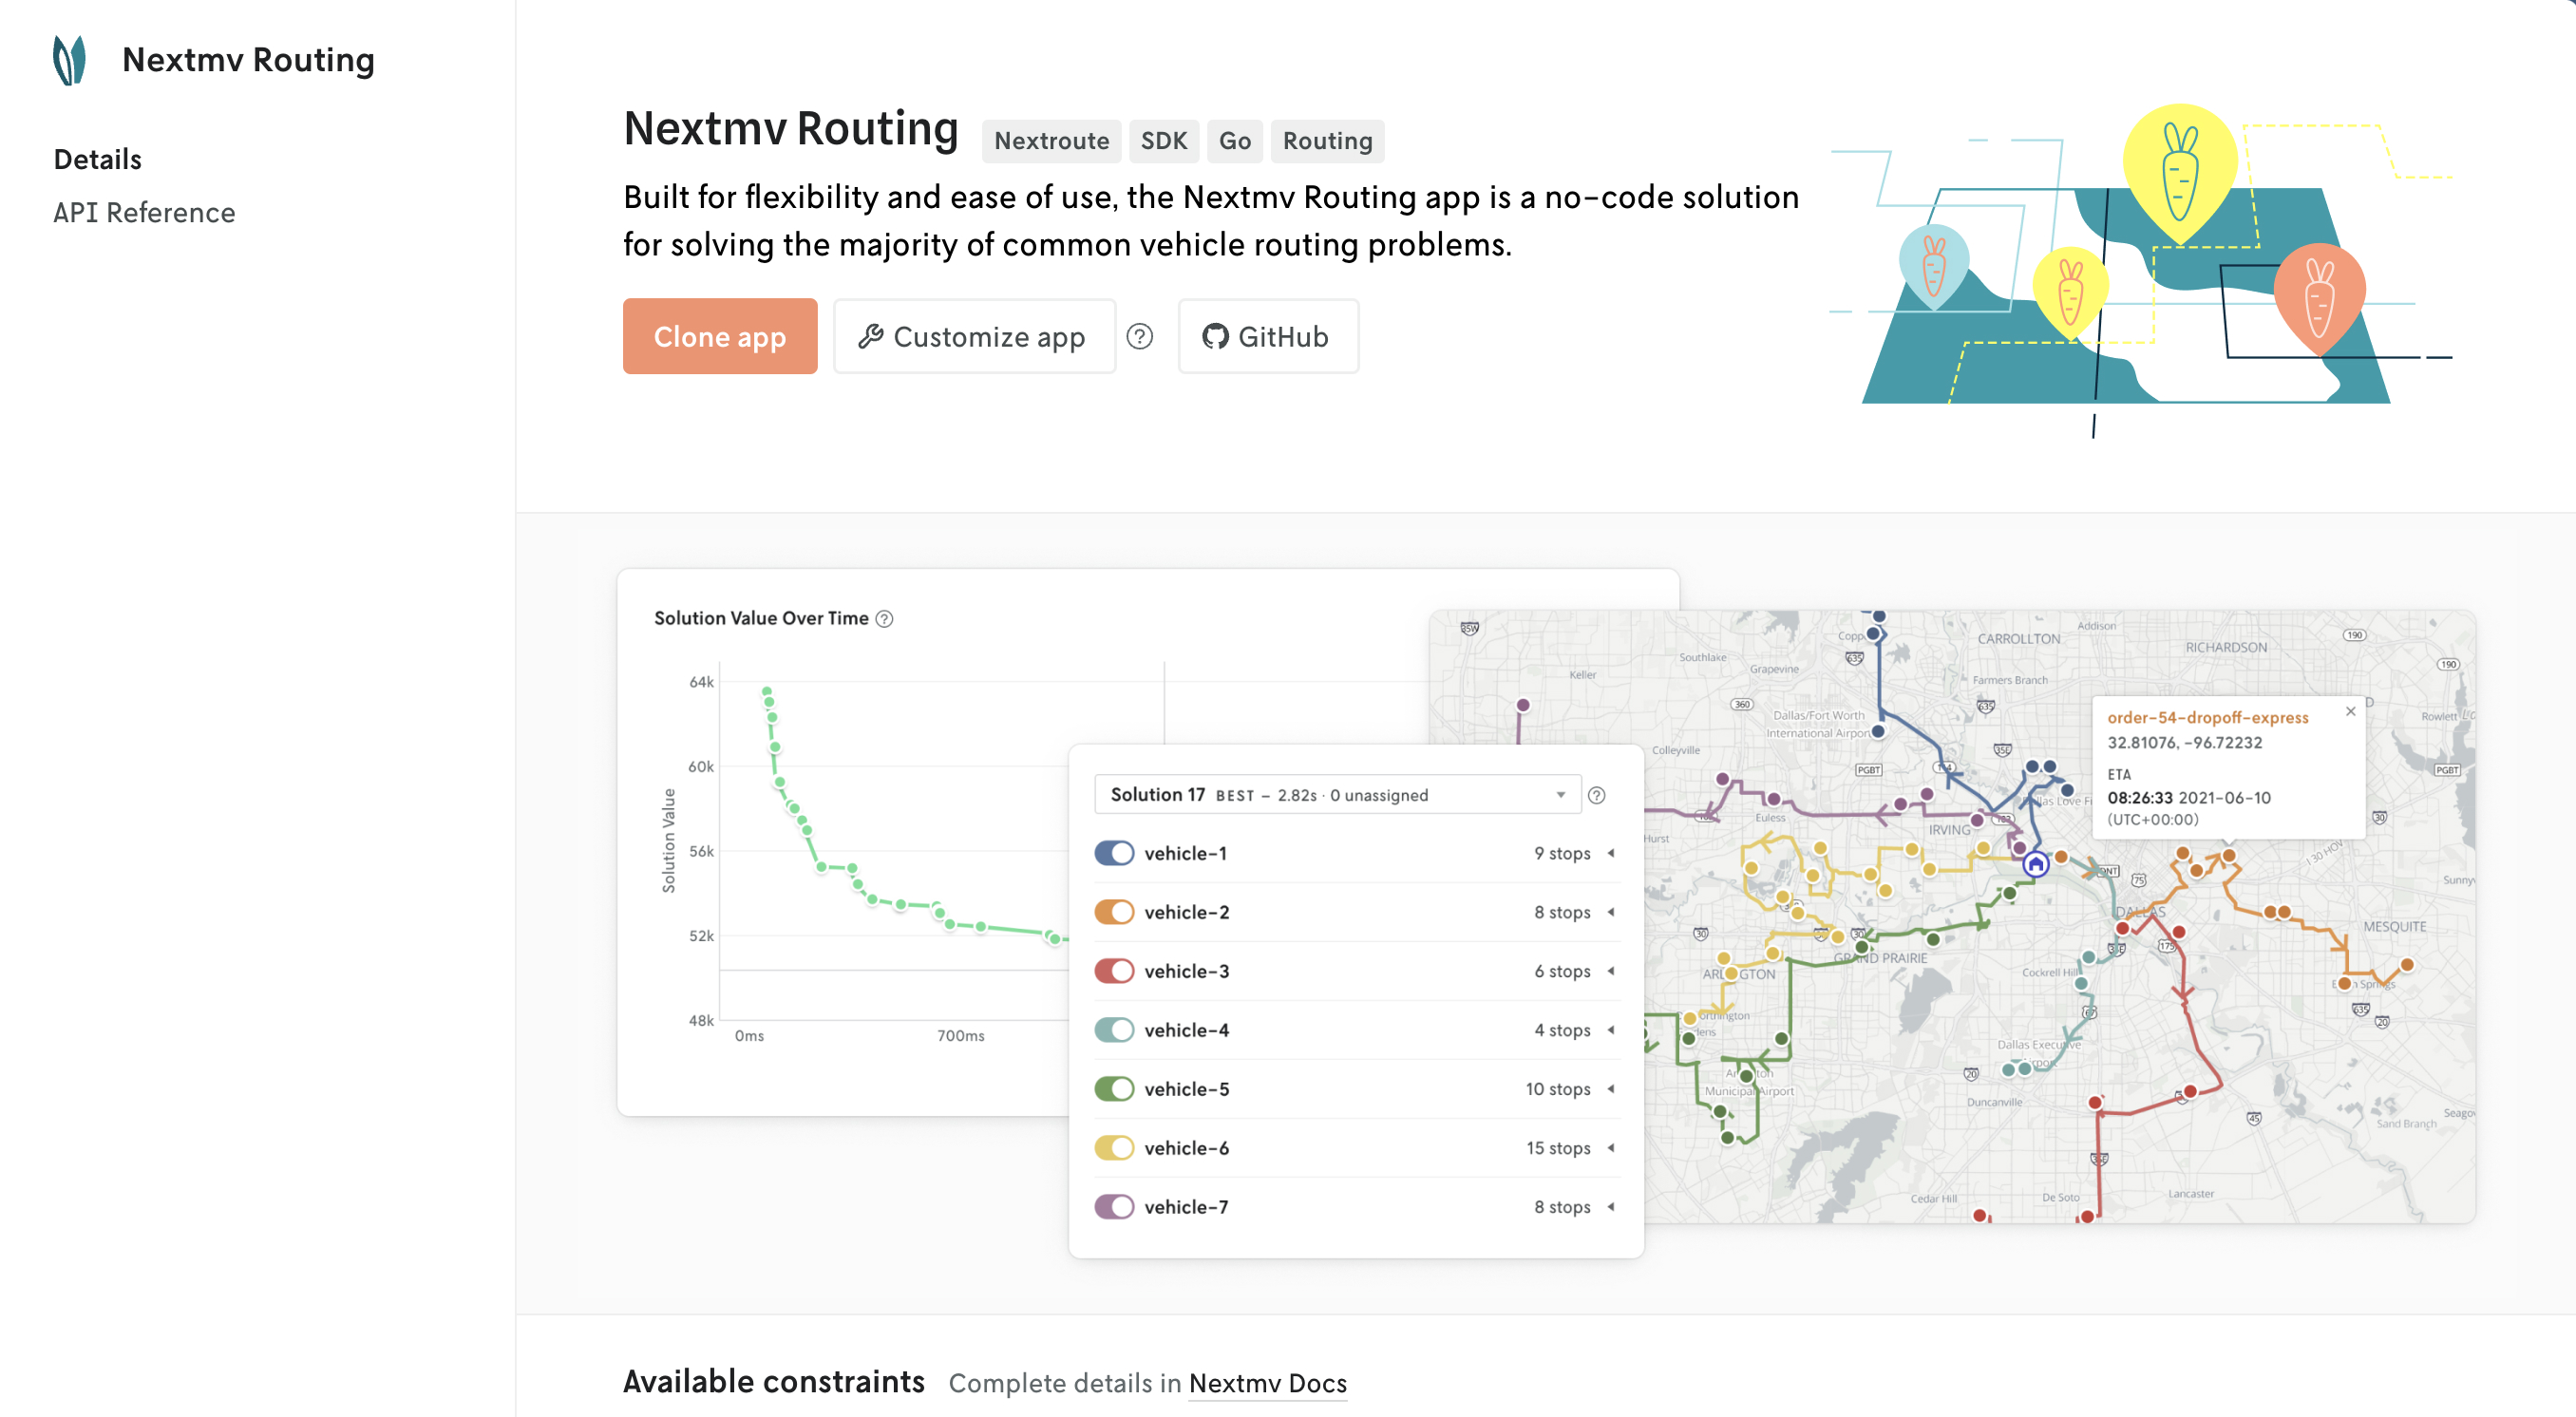
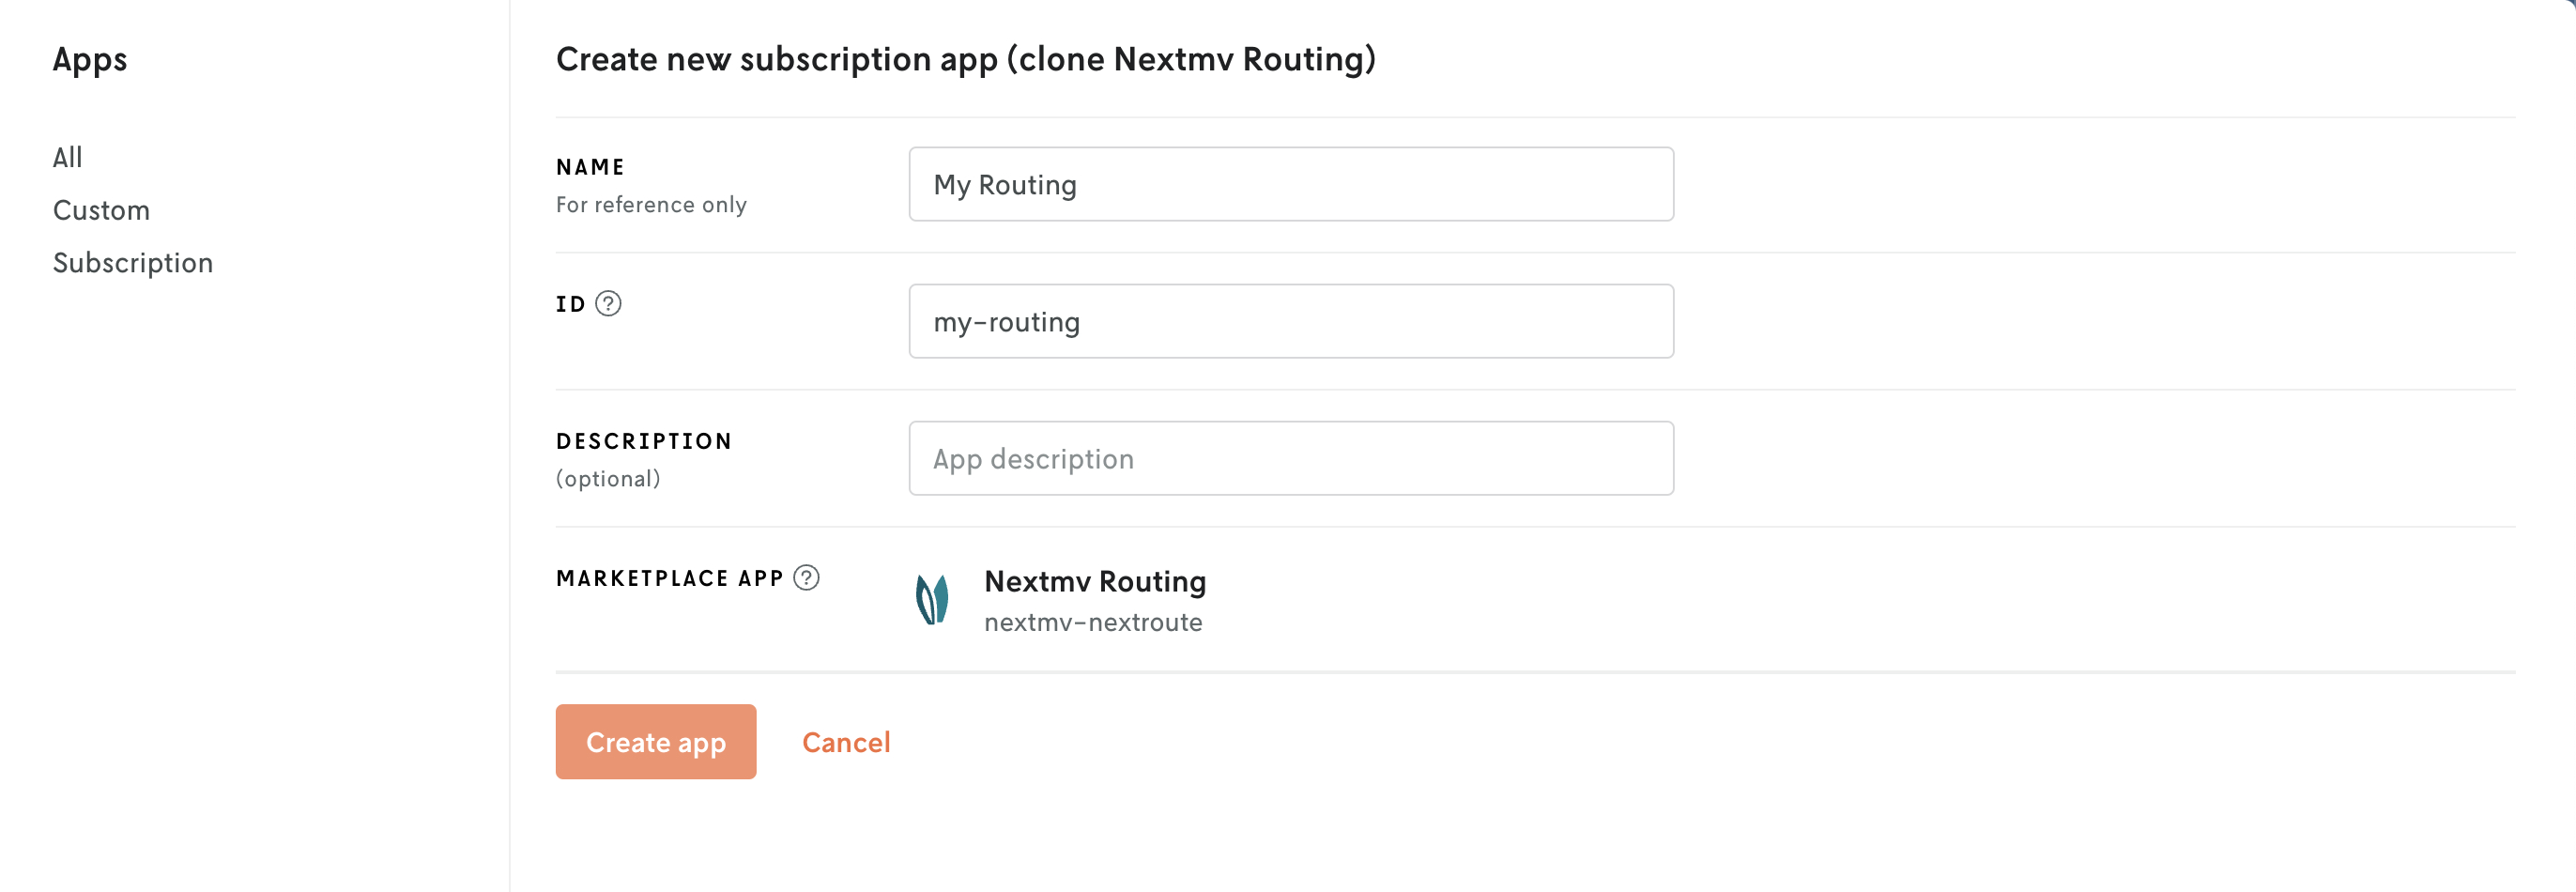
Click the Clone app button to create your own routing app based on the Nextmv Routing marketplace app. Fill in the details and click Create app.
Your new app’s details page contains a summary of meta information for your app along with all of the endpoints associated with your app. Also include for your app are various subsections for managing, experimenting, and running your app.
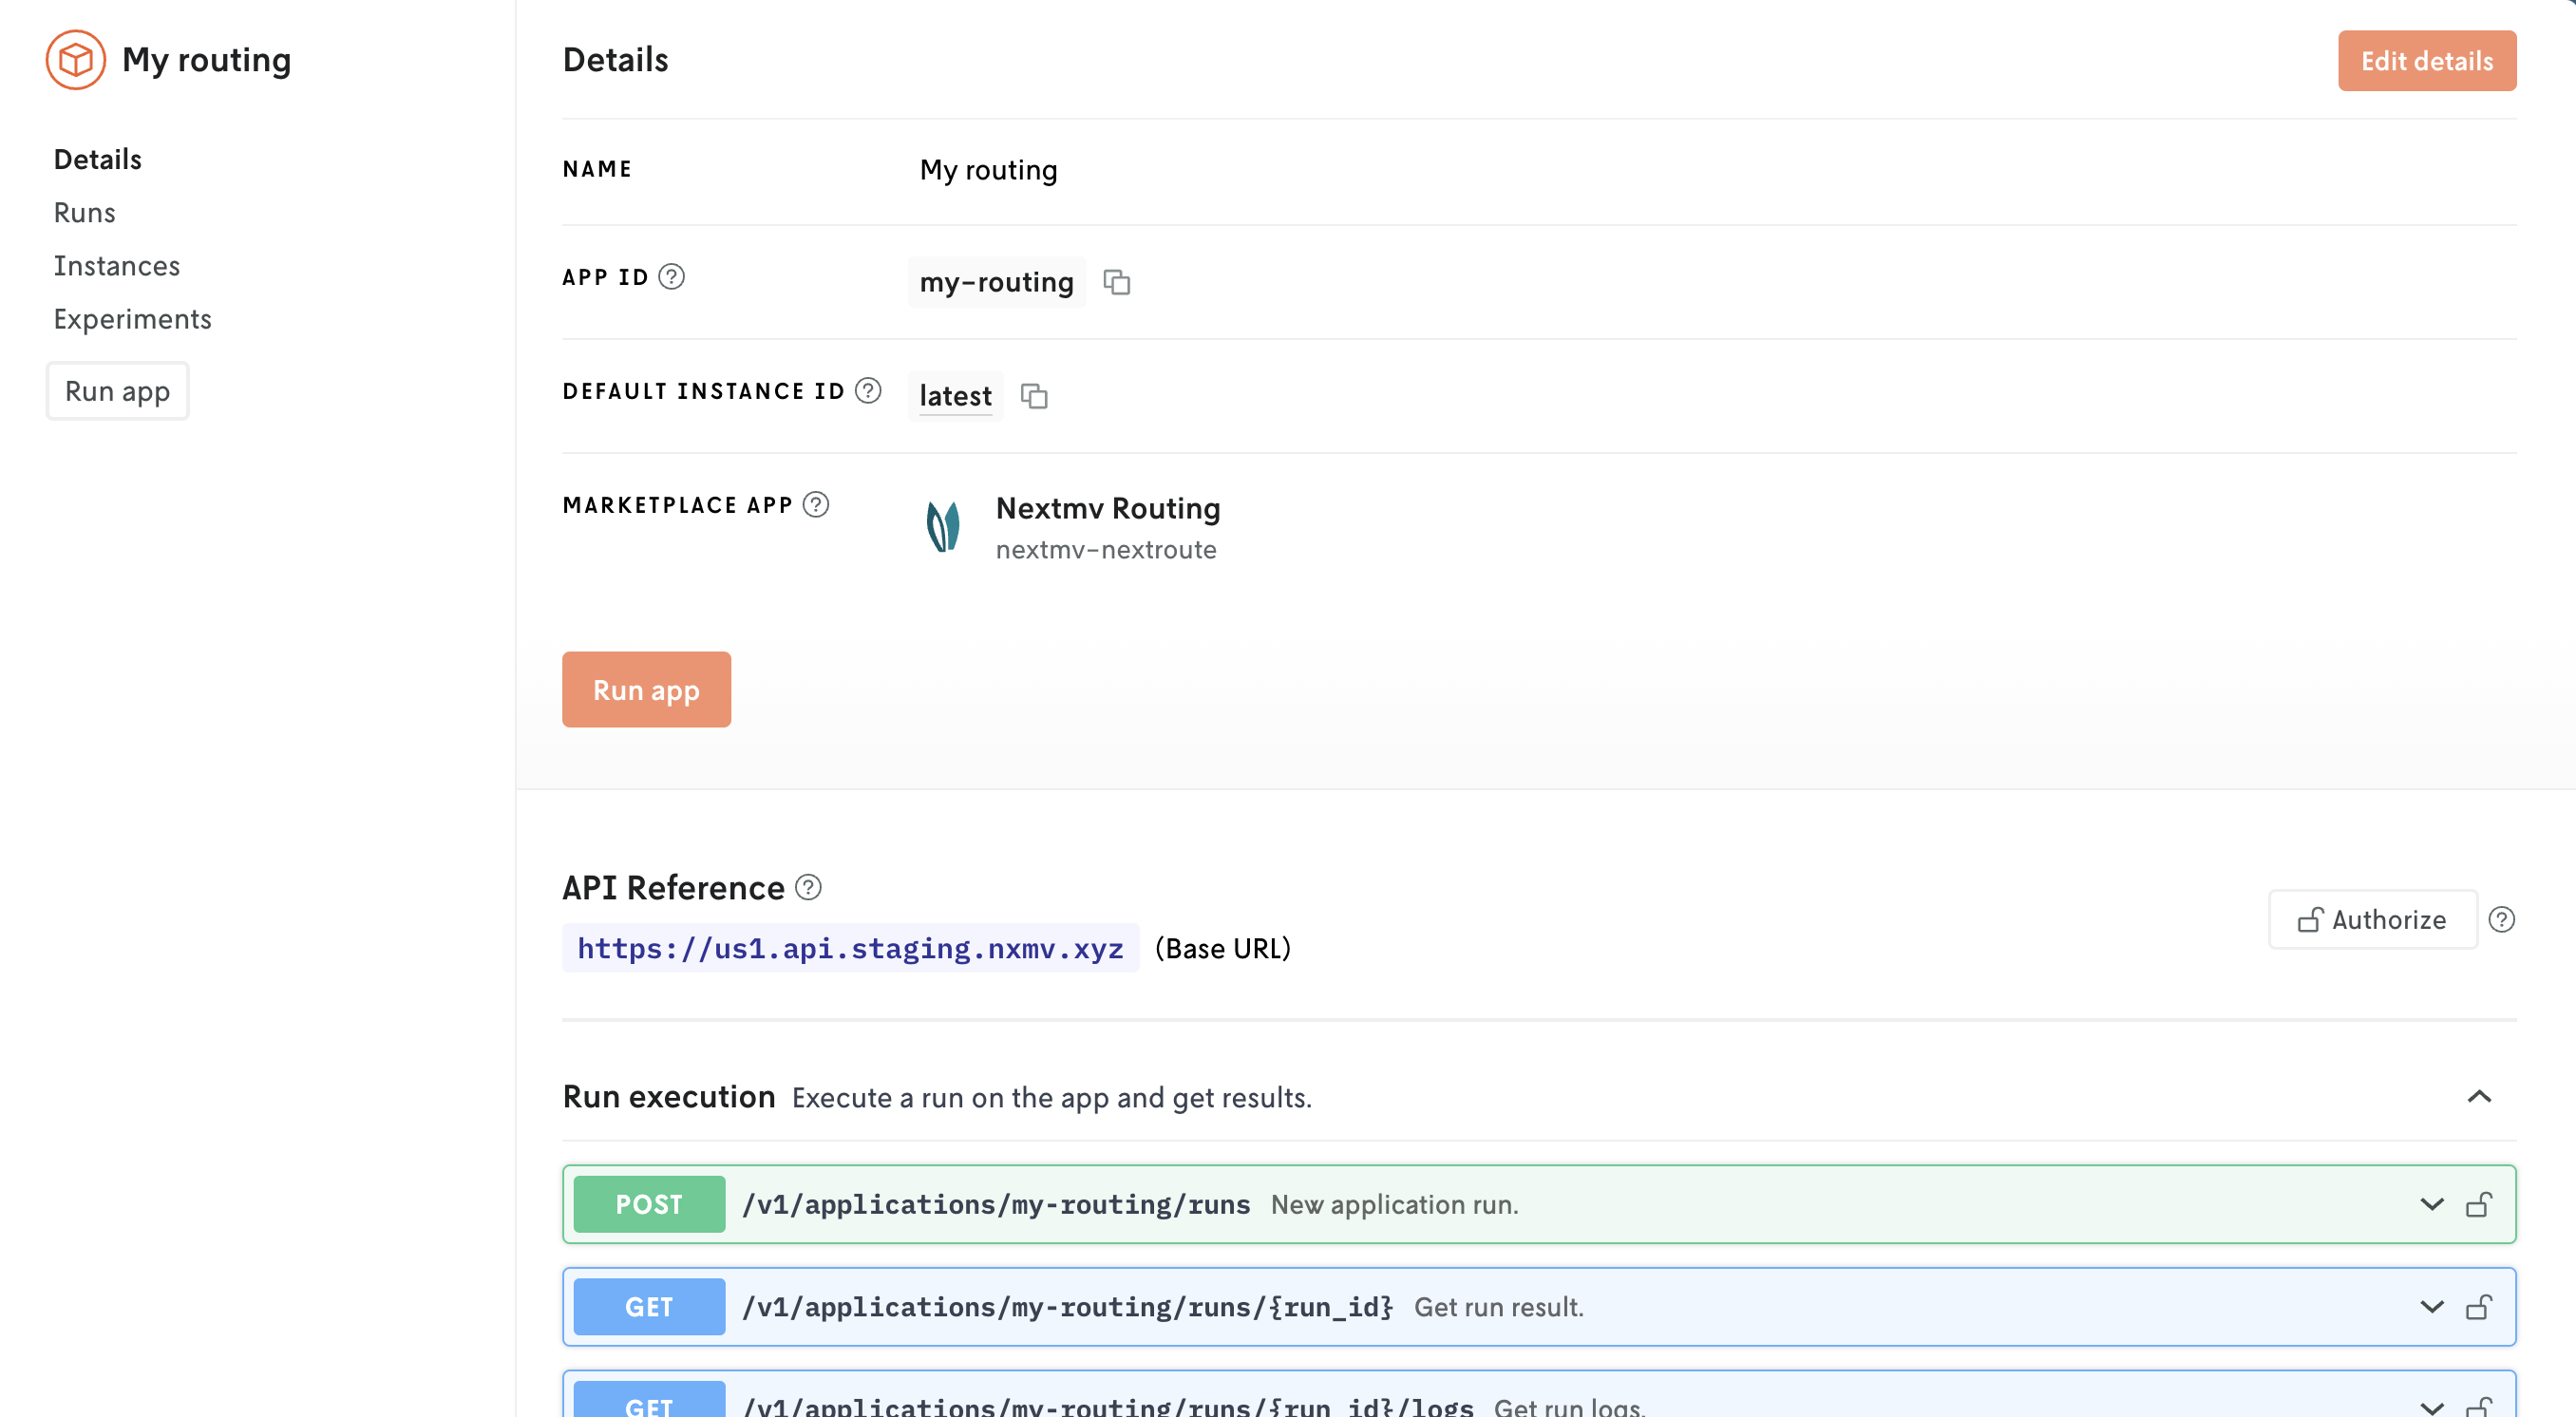
Next we’ll make a run using your new app.
3. Run your new app
From your app’s main details view, click the Run app button. This will load an empty user interface for adding the input and configuration for your run.
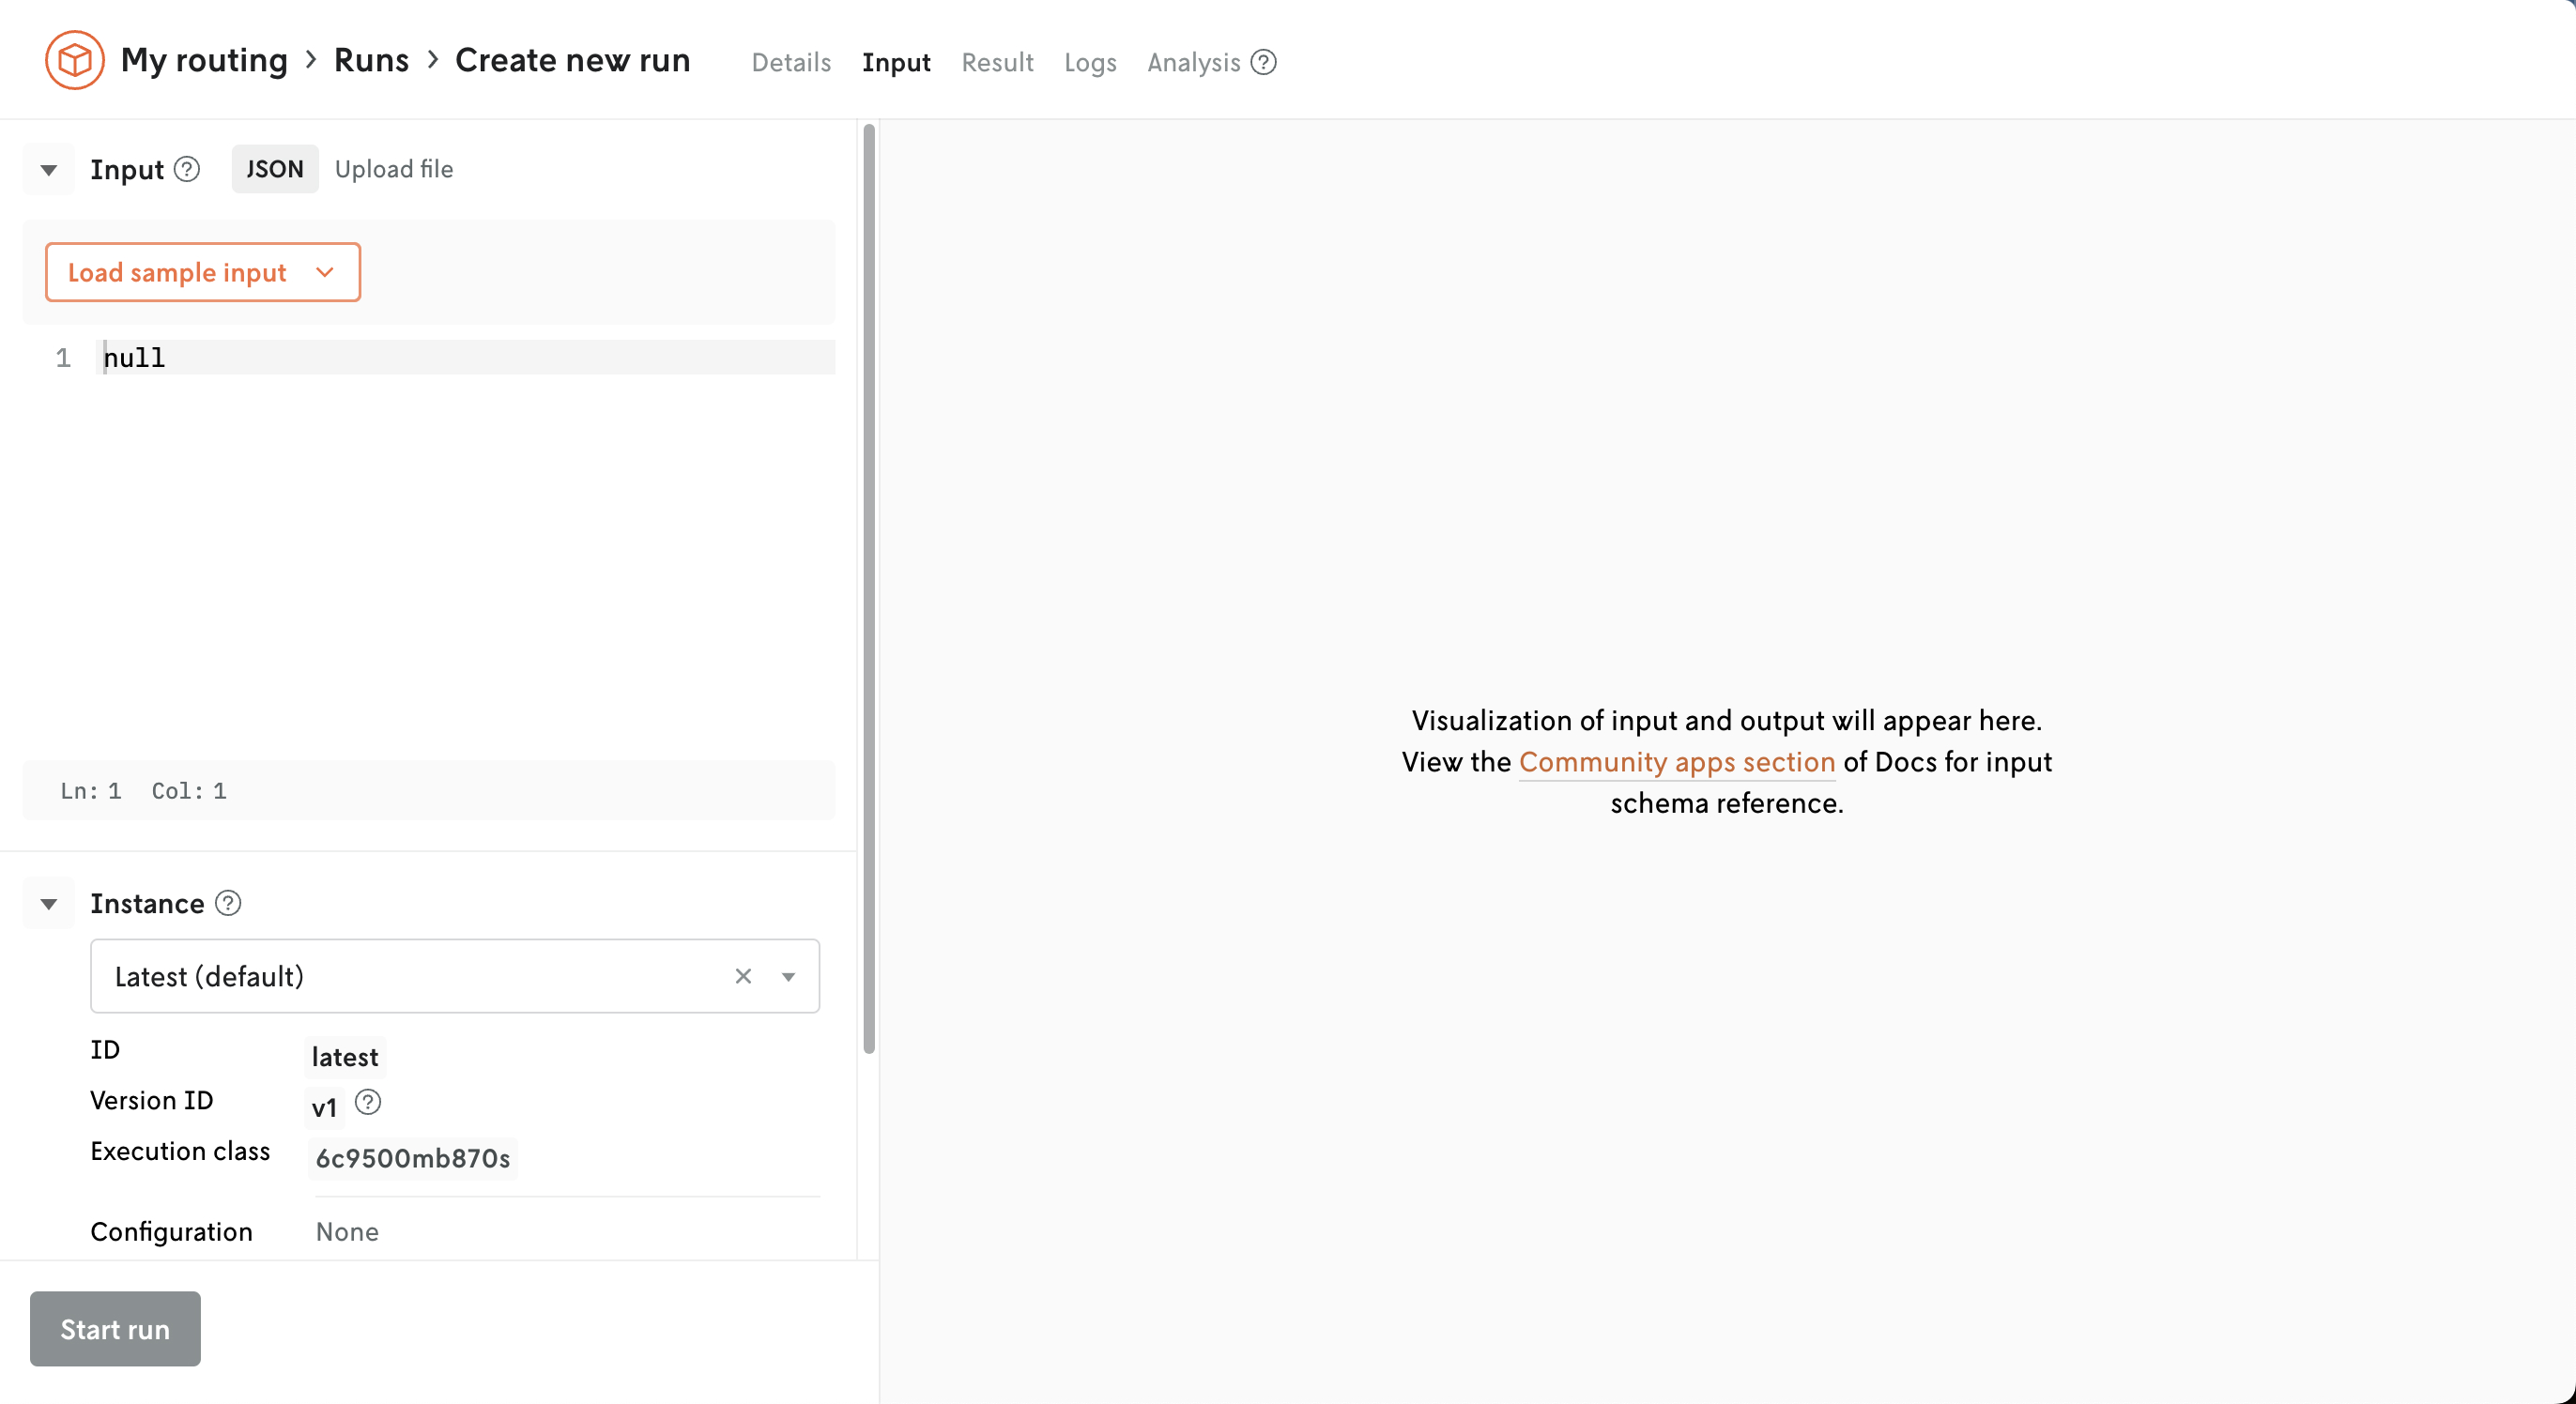
Click on the Load sample input button to load sample input for your routing app. Loading the input will also activate the routing-based visual on this view as well. (You can select different sample inputs to load, just be aware that the visualization will change depending upon the input so your screen may not look exactly like the screenshot below.)
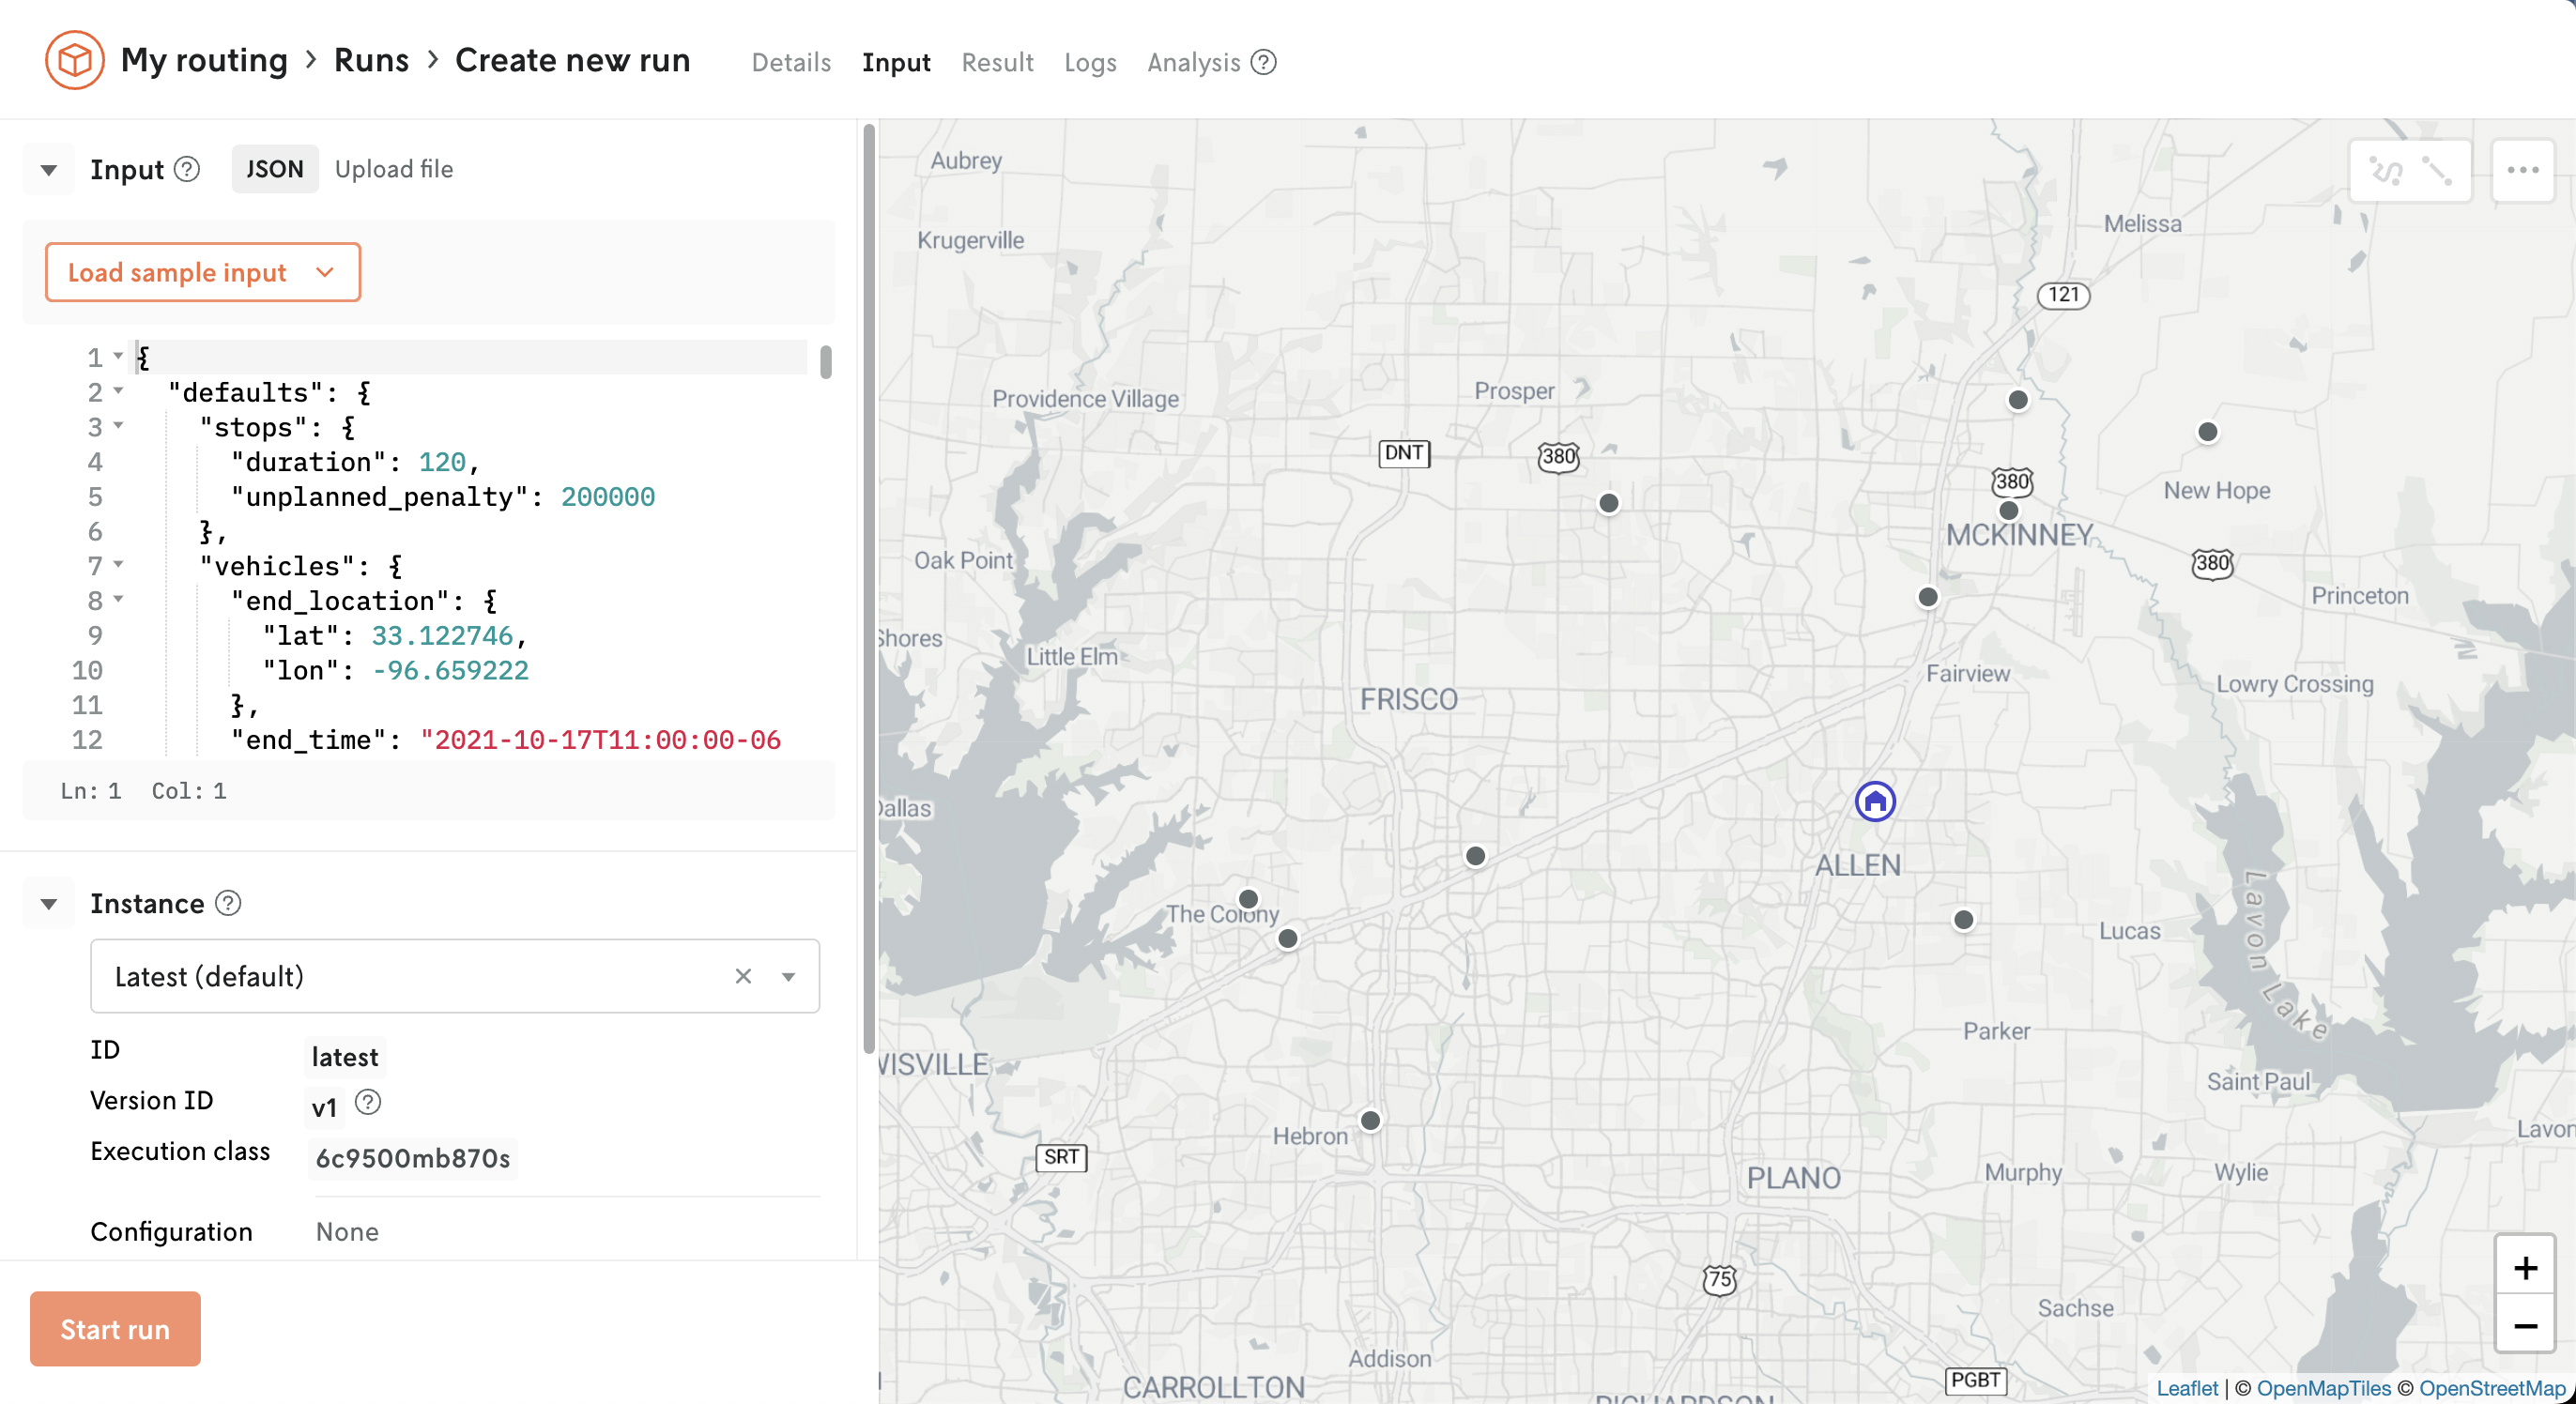
Next, click the Start run button to run your app. This will load a new screen where you can view the details of your app run. Your run status will start with either queued or running and will move to successful once it has completed.

Note that you can change the duration of how long your routing app runs by using the available configuration options, but for now we will use the default of five seconds.
Once the status reaches succeeded click on the Result tab to view the result of your run. You should see a list of vehicles and their respective routes on the map. This is the solution for your input.
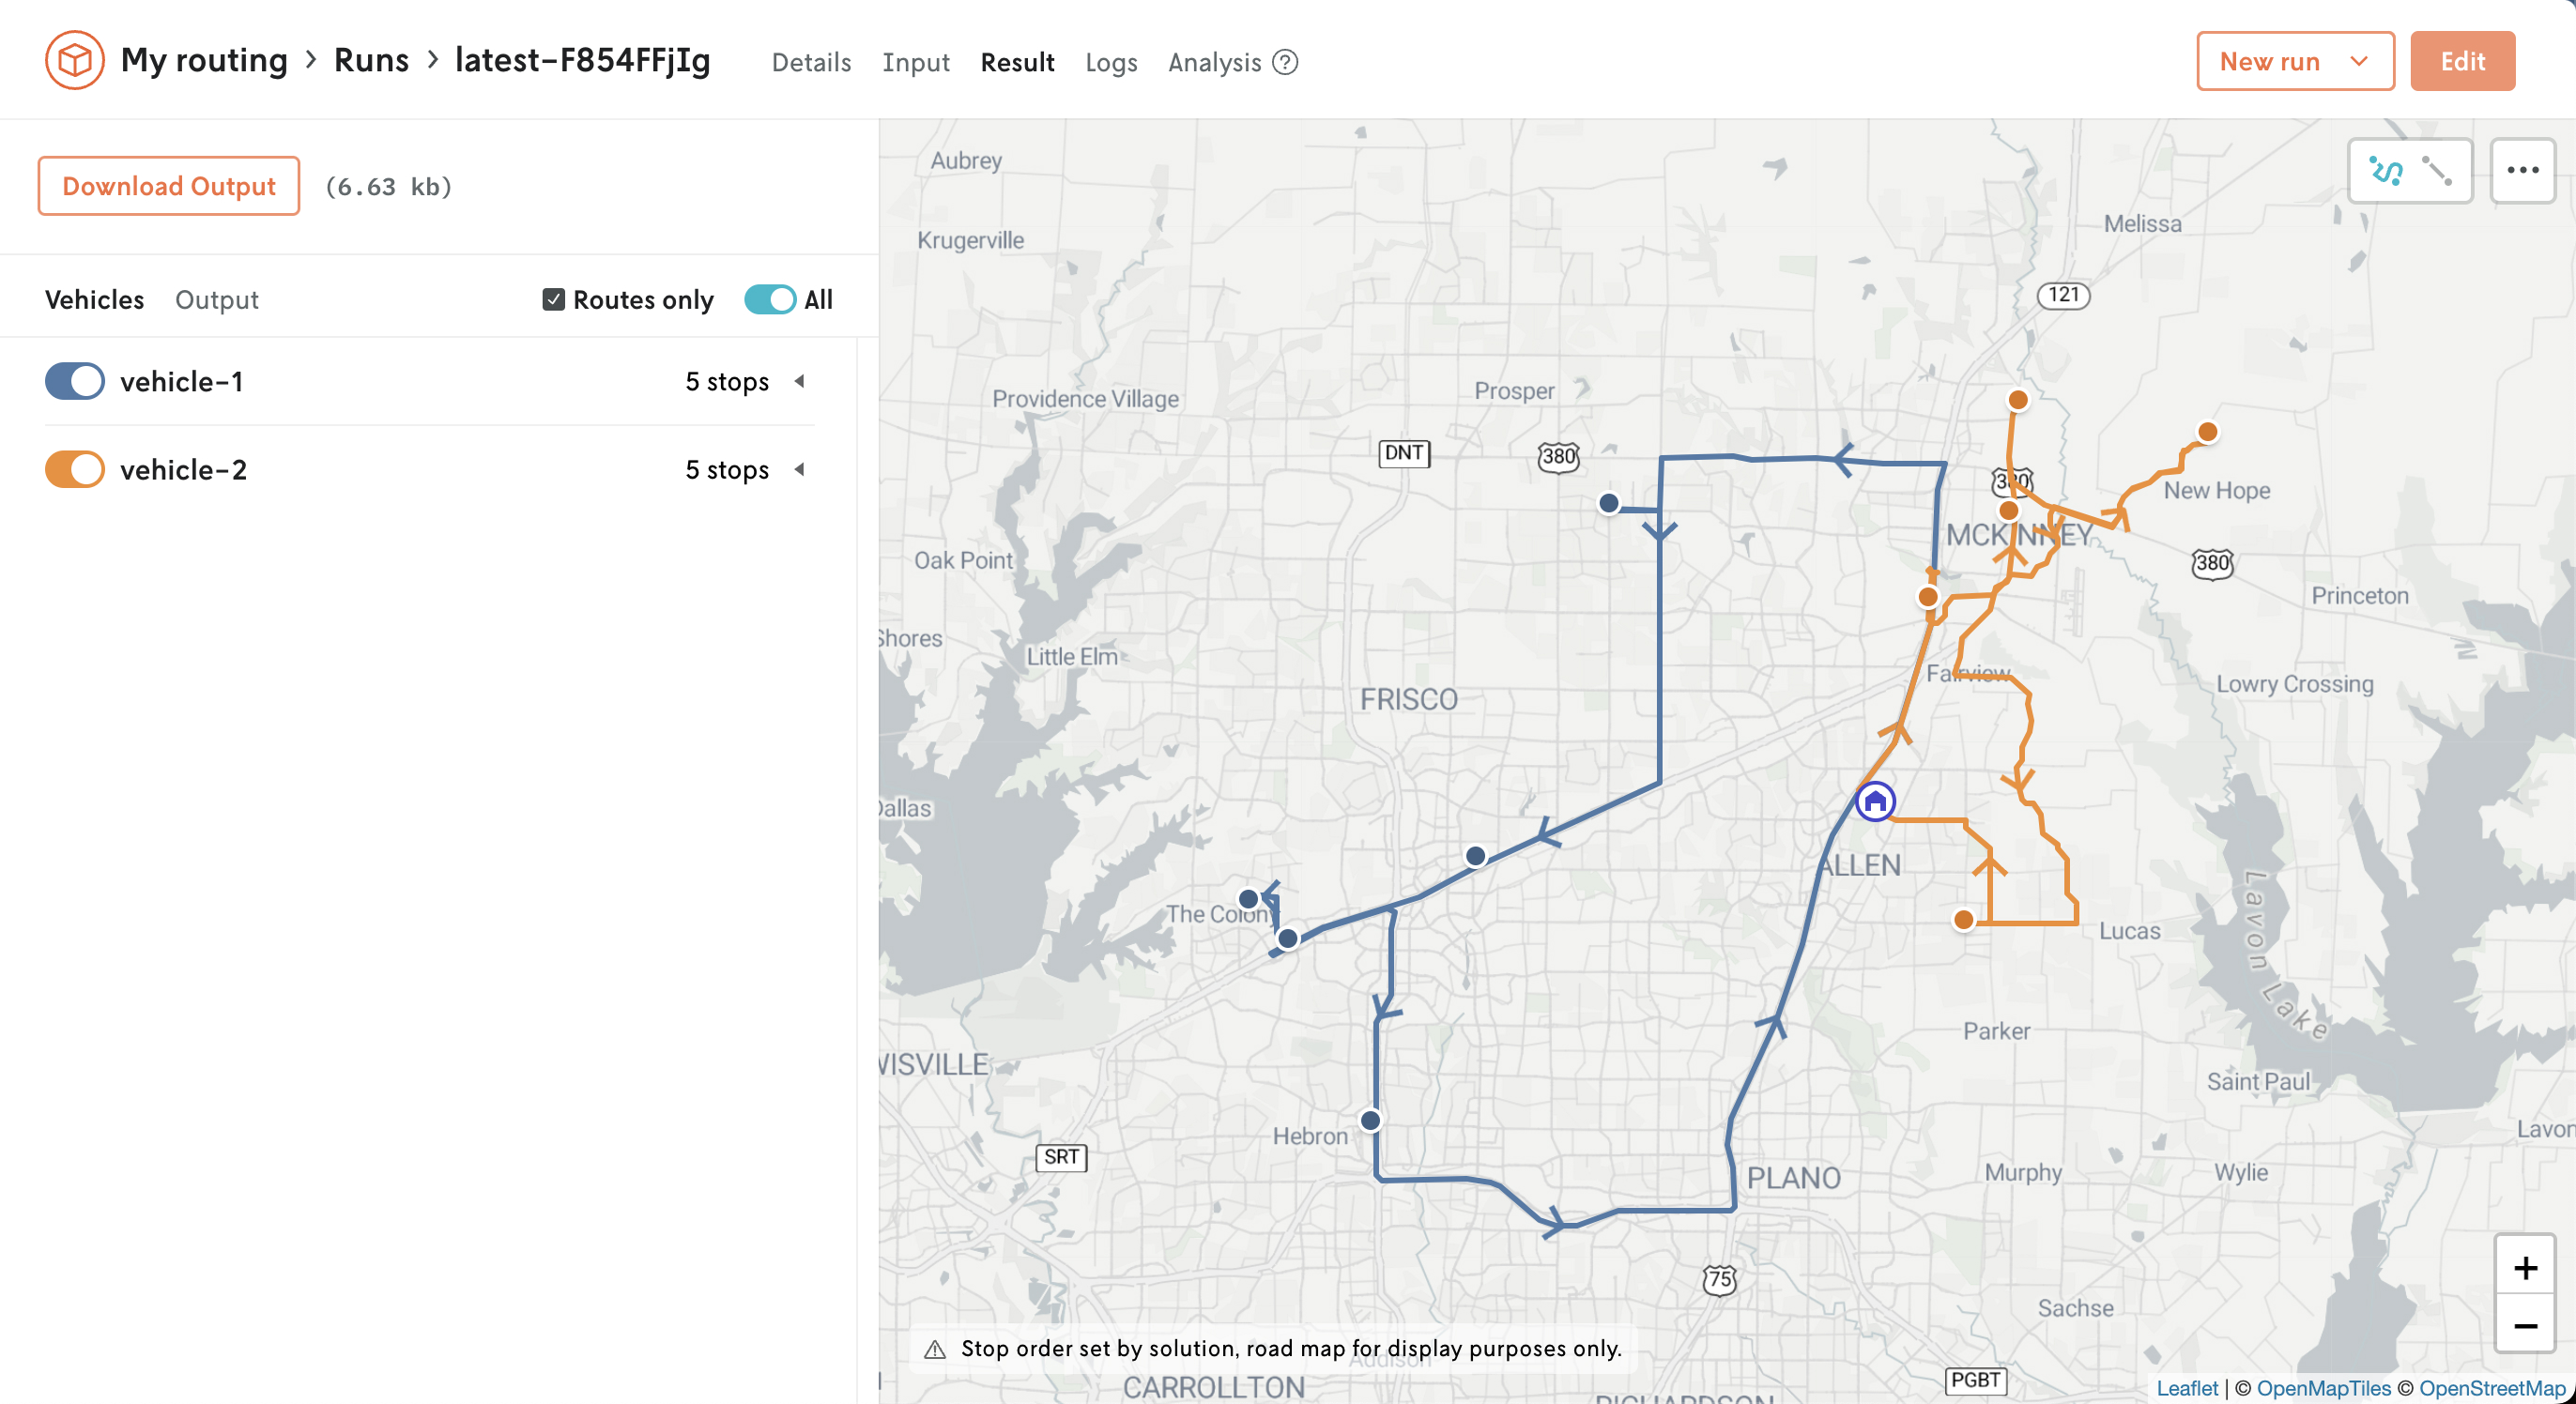
You can also view the JSON returned by clicking on the Output tab next to the Vehicles tab. Click around to the other views to see the type of information returned with each run.
Next steps
🎉🎉🎉 You completed this brief introduction to the Nextmv Decision Platform. Here are some next steps:
- Learn about how to customize apps.
- See the solvers that are supported.
- Begin exploring scenario tests and other experiments