Switchback tests
Learn how to run switchback tests with your tool of choice.
- CLI: the Nextmv Command Line Interface (CLI).
- Python SDK: a Software Development Kit (SDK) for Python developers.
- Cloud API: an HTTP API for developers to integrate with the Nextmv platform.
A switchback test is an experiment that runs in the background and compares the results of two instances: baseline vs. candidate. The experiment switches back and forth between the two instances, when a run is made to the app, hence the name. Switchback tests are related to general A/B tests, but they are not the same. Switchback tests allow you to account for network effects, whereas A/B tests do not. However, the working principle is the same: you compare the results of two instances to determine which one is better.
The schedule by which instances are switched is called a plan. A plan
consists of multiple units, each referring to a time of day and an
instance. This crucial ingredient is the actual sequence of
switches. Often users randomize the assignment of instances over the units.
But there exist more advanced methods to design an optimal experimentation
plans 1.
To be concise, when a run is submitted to the baseline
instance, the test determines if the input should be routed (or
not) to the candidate instance, based on the plan. Once the test is
completed, the results are compared with the same framework as in a batch
experiment.
Info
The switchback test currently supports generating a random plan, which means for each unit a random instance is chosen. If you need more control over the switchback plan or are interested in more advanced methods, please contact us.
Let's take a look at an example.
The following example designs a very short switchback test of 2 hours. It
switches between the prod and the candidate instances when making runs to
the baseline instance (prod in this case).
| Time | Instance | Unit index |
|---|---|---|
| 14:00 - 14:30 | prod |
0 |
| 14:30 - 15:00 | candidate |
1 |
| 15:00 - 15:30 | prod |
2 |
| 15:30 - 16:00 | candidate |
3 |
So, executing a run on the app at 14:23 routes the
request to the prod instance, while making the same request at 14:35
routes the request to the candidate instance. Both runs are linked to the
same switchback test and can later be analyzed using the unit index.
A switchback test is defined by the following parameters:
start(optional): when the test should start collecting data. The test can be started manually before thestarttime, but it will not begin collecting data until this start time is reached. If thestarttime is omitted, the plan will be executed immediately when the test is started.unit_duration_minutes: the duration, in minutes, that each unit should be active for. The total duration of theplanwill be the number ofunitsmultiplied by theunit_duration_minutes.units: the number ofplanunits that should be generated.
These are the steps to start a switchback test:
- Create the switchback test. This step is like creating a draft of the test.
- Start the switchback test. A test does not start automatically even if the
time defined by
startis reached. You must start the test manually.
Info
Please note that by default a switchback test auto-completes once 1,000 runs have been reached. If you need more runs, please contact contact us.
A switchback test may be manually completed or canceled at any time, if you
don't want to wait until the plan is fulfilled. Once a switchback test
starts, you can view partial results without having to wait for the test to
complete. Results will be updated as the test progresses and finishes.
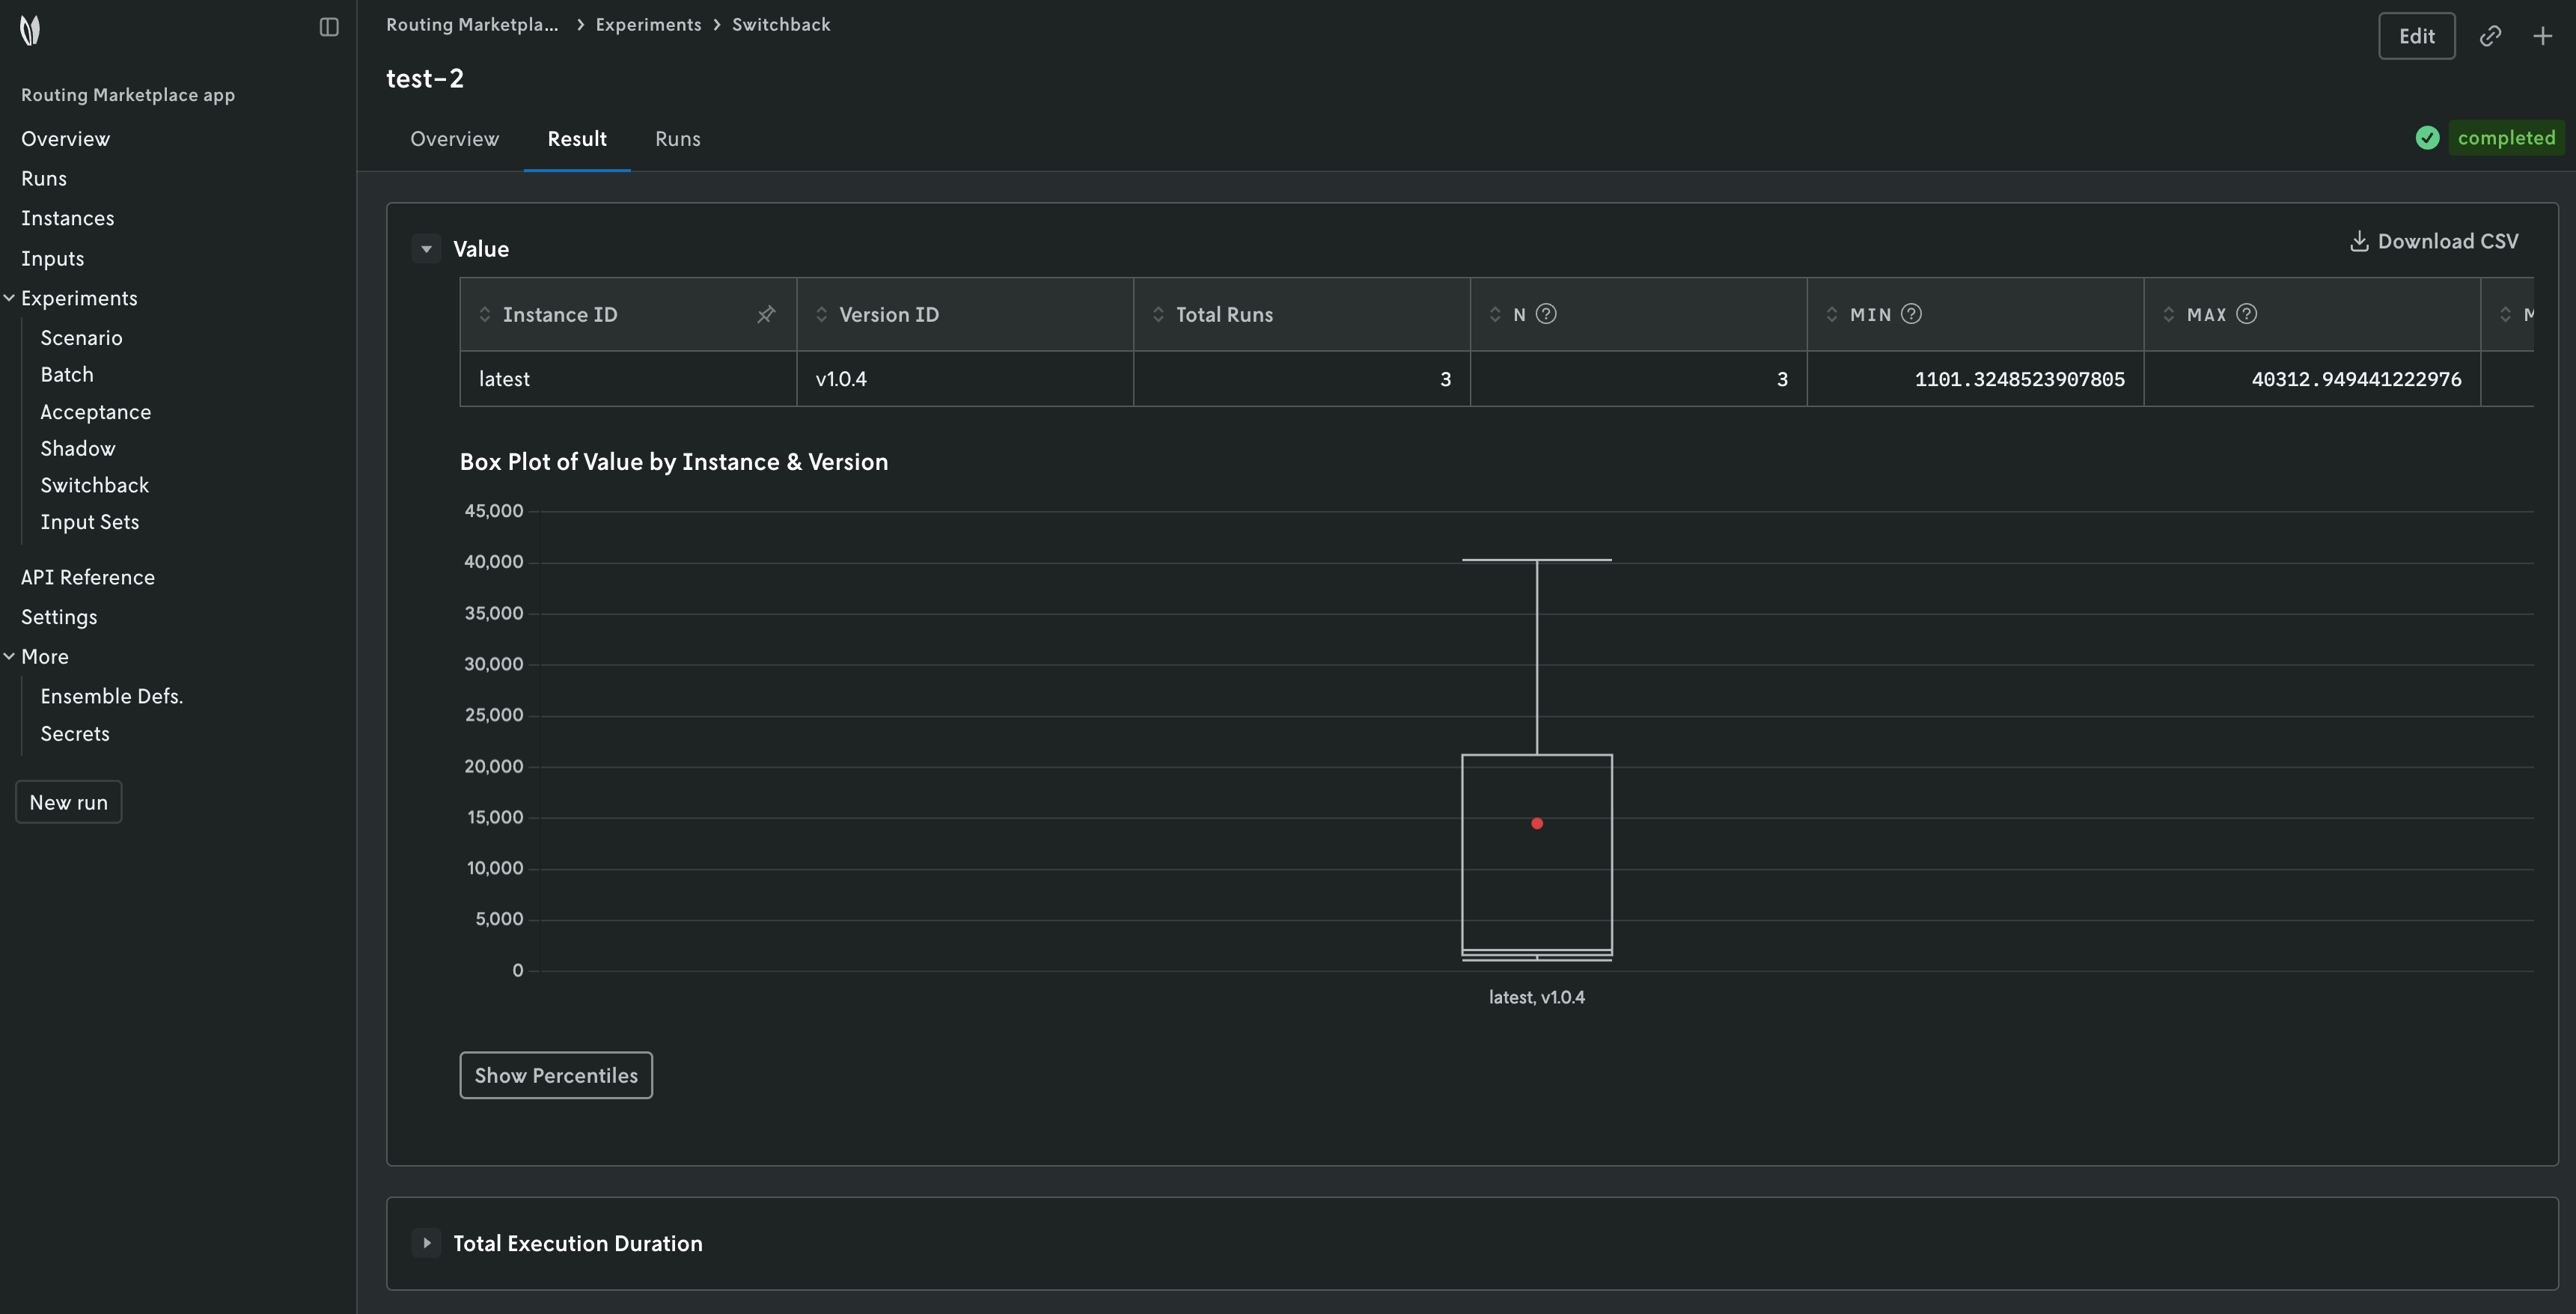
Switchback tests are designed to be visualized in the Nextmv Console. Go
to the app, Experiments > Switchback tab.
-
Bojinov, I., Simchi-Levi, D. and Zhao, J., 2023. Design and analysis of switchback experiments. Management Science, 69(7), pp.3759-3777. https://arxiv.org/abs/2009.00148 ↩